


One of the hidden new features launched as part of the 7.8 release is a new “extra” for managing computer and device loaner pools. Decide which computers, monitors, and other devices are in a pool, and then easily check hardware out to staff, students, or faculty with customizable loan lengths, terms and conditions, automatic email notifications, and a printable receipt. Sound useful? Let’s walk through the setup process and have a look at how it works.
Read below for text instructions, or watch the video.
Prerequisites
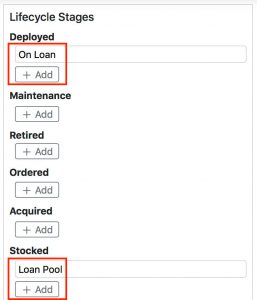 When a computer or other device is checked in or out using the Loaner Checkout extra, the lifecycle stage is automatically changed, based on settings you configure after installing it. But there are no built-in “Loan Pool” or “On Loan” lifecycle stages to use, so lets start by creating those now. Head to the Settings page in the web UI and choose the Columns pane. Scroll down to “Lifecycle Stages”, and add two new ones like we did in the sample image. Note: You don’t have to match the new field options with the image, but don’t add more new fields than you need. Although new dropdown options can be changed after you add them, it’s not easy to delete them altogether. Reach out to support@sassafras.com if you need assistance.
Before you install the Loaner Checkout add-in, the next thing you’ll want to do is to install and run one or more of these javascript plug-ins from the Scripts pane on the Settings page: Change Lifecycle Stage (or Move Computers + Move Devices), and Import User Information from AD.
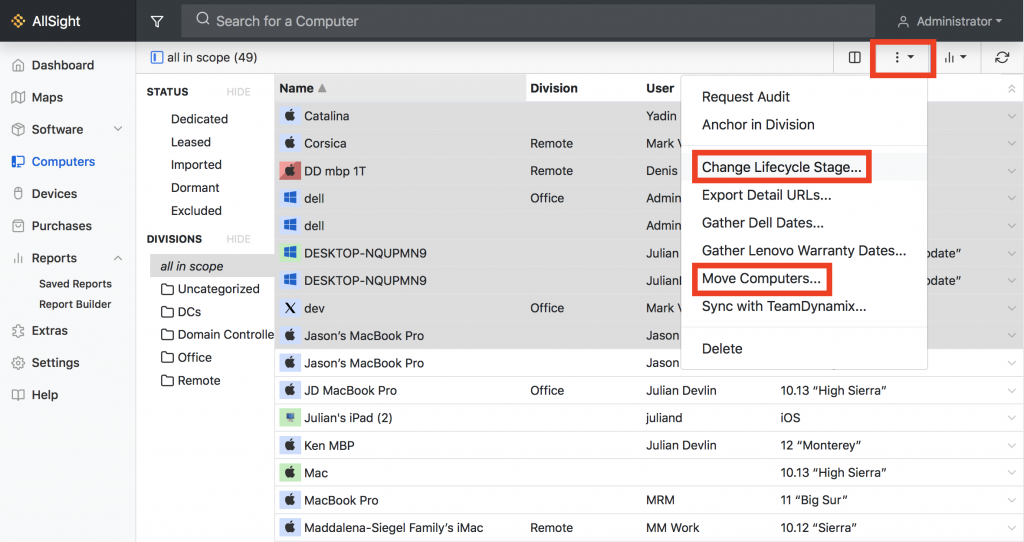
Change Lifecycle Stage is a single purpose script that works on computers and devices, while Move Computers and Move Devices do a whole lot more, but they are two separate scripts. Of all the fields the Move Computers/Devices scripts can modify (Divisions, Login type, Dual-boot flag, etc.), the only one we’ll use here is Lifecycle Stage, so that one is sufficient, but if you think you might get use out of the others in the future, you can install those instead. With your chosen script(s) installed, simply select a group of objects on the Computers or Devices page, click the three dots in the top right corner, and choose the script you want to run.
Select Loaner Pool in the Lifecycle Stage drop-down, and click OK. If you have more than one pool to manage, don’t worry. You can use Divisions, page Scope, or Account restrictions to define different hardware groups once everything else is set up. For now, we just need to set the Lifecycle Stage for all loaner computers and devices (monitors, cables, external drives, etc.) to Loaner Pool.
![]()
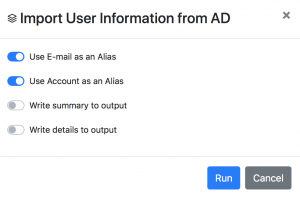 The Import User Information From AD script queries AD for details about all of your users (matched by username), and populates relevant fields for each user record in the AllSight/LabSight database. You might want to set this script up so that email and phone number can pre-populate when checking out loaners, once you have searched for the user name. After installing it, just click the “Play” triangle to run it. It will prompt you for settings, but the default options are almost always exactly what you want. If the script can’t locate AD on the domain, you might need to click the gear icon and populate the Host field. You can also click the Clock icon to configure a daily sync.
Installing the Loaner Checkout Extra
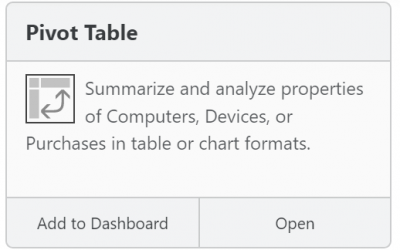
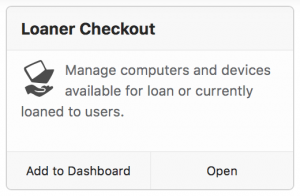
To load the add-in, head to the Settings page and look for the Extras panel. Check the box for Loaner Checkout to install the add-in (you might want to go ahead and install the Users Assets add-in as well, since it gives you a great user-centric way to see all assets assigned to a given user). If this is the first Extra you’ve installed, refresh your browser window, and you should now see the Extras page listed in the left side column under Reports. On the Extras page you’ll find a new widget, with a button that lets you open the add-in, and an option to add it to your dashboard.
Configuration
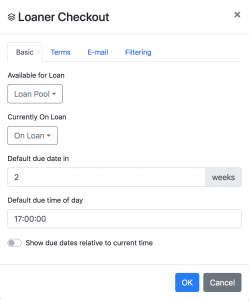 Open the add-in, and click the gear icon in the top right corner to configure options. Select the appropriate lifecycle stages in the Available for Loan and Currently on Loan drop-downs. You can also define default loan lengths and check-in times here.
If you have a url and/or Terms and Conditions text you’d like to add to the contract/receipt, paste what you need into the fields on the Terms tab.
The Loaner Checkout extra automatically sends confirmation emails to users when they check out or return a device; you can set the email Subject line, as well as cc and bcc email addresses on the Email tab. The Filtering tab is for advances options, like specifying a certain Division or using tags or filters to define your pool. Like other pages in the Web UI, the Loaner Checkout extra obeys the scope selection (filter icon next to the search bar), as well as account permission-based restrictions, so if you have multiple pools based on users (faculty/students) or by department, there are various ways to separate out your computer groups, depending on your needs.
Check Out Check In
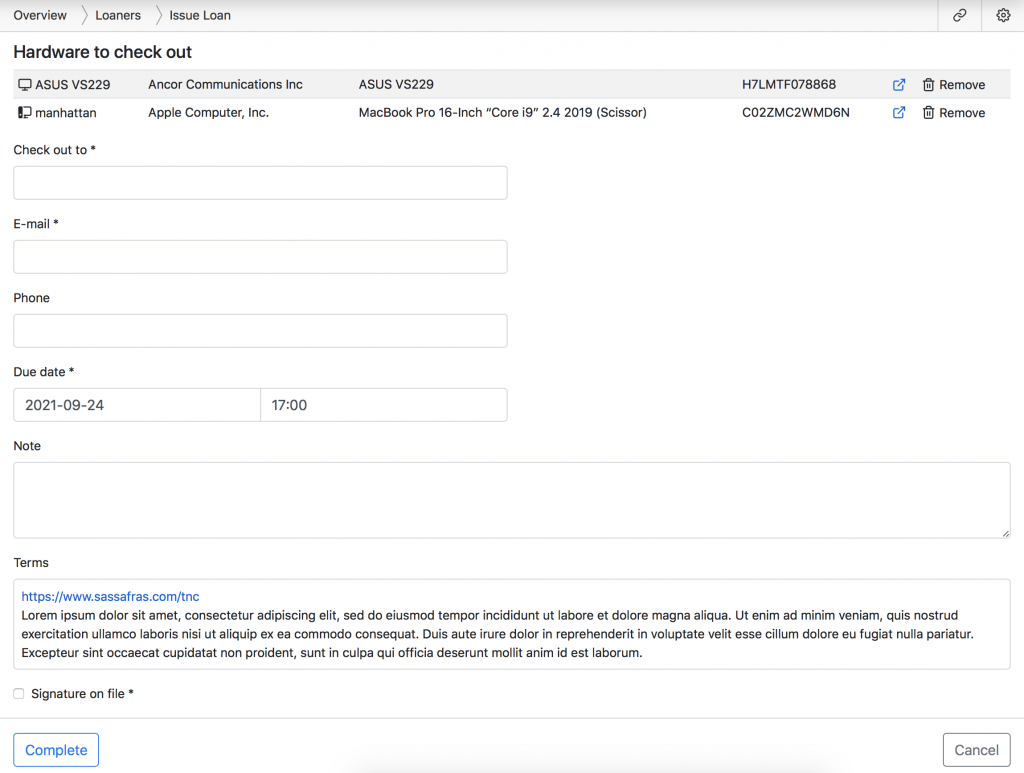
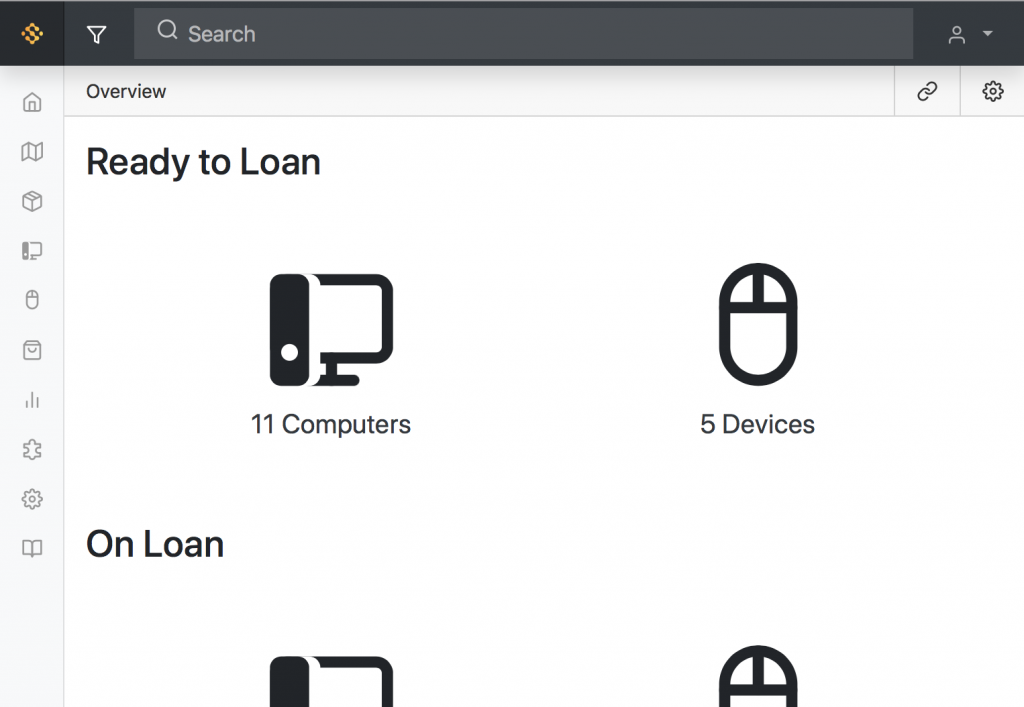
Once you’re finished configuring the settings, you should be ready to start checking devices out to end users. This part is pretty easy. On the main page of the extra, under Ready to Loan, you should see the available computer and/or device count. Click the computer icon, select the computers and/or devices you want to check out, and click the Check out selected button at the bottom of the page. If you used the AD script to import user details, everything should auto-populate when you start typing and then select the user’s name from the dropdown on the form page. If you’re not using the script, or if some data is missing from AD, you can hand type or paste it into the fields in the extra and the data will be saved to the user’s record in AllSight/LabSight (none of this data is written back to Active Directory, even if you are using AD Authentication or the AD users script). Click Complete, and the devices have been checked out! A confirmation email will then be sent to the user’s email address; this confirmation page can also be printed as a receipt or kept as a paper record.
The On Loan section of the app should now list any computers and devices that have been checked out, along with device details and the Due Date, which turns red when it has passed. Repeat the same steps to check a device in as you did to check it out. Once returned, it will immediately be placed back in the pool as available. If a user has more than one device checked out and you check only one of them back in, the system will prompt you with a list of the other(s), in case you forgot. There is also a “Renew Selected” option for extending a loan, so you don’t have to check things in and then back out.
That’s it! If you have any questions about setting up the Loaner Checkout widget or any of the prerequisites or other settings, feel free to reach out to me at jason@sassafras.com, or you can contact the support team at support@sassafras.com.

Subscribe
Subscribe:
Follow:


 See K2 First-hand:
Follow: