Sections and Divisions
Sections partition the computers of a single KeyServer into distinct sets to facilitate Federated Management.
A KeyServer always has Enterprise level Administrators who can see and configure everything (all computers, policies, etc). Once Sections are defined, any particular Administrator can be assigned to a Section, and Access rights are automatically set up so that Administrator is then able to configure computers, policies, and purchases just within their assigned section.
See also our Tutorial Video on this topic.
Divisions
Sections and Divisions are both configured in the Computers window and are closely related. Before detailing Sections, we need to talk about Divisions. In a simple environment Sections may never be needed, but Divisions are a staple of organizing Computers in KeyServer for management and Reporting. Note many of these concepts are touched on in other documents or discussed more fully in them, so check out the linked items.
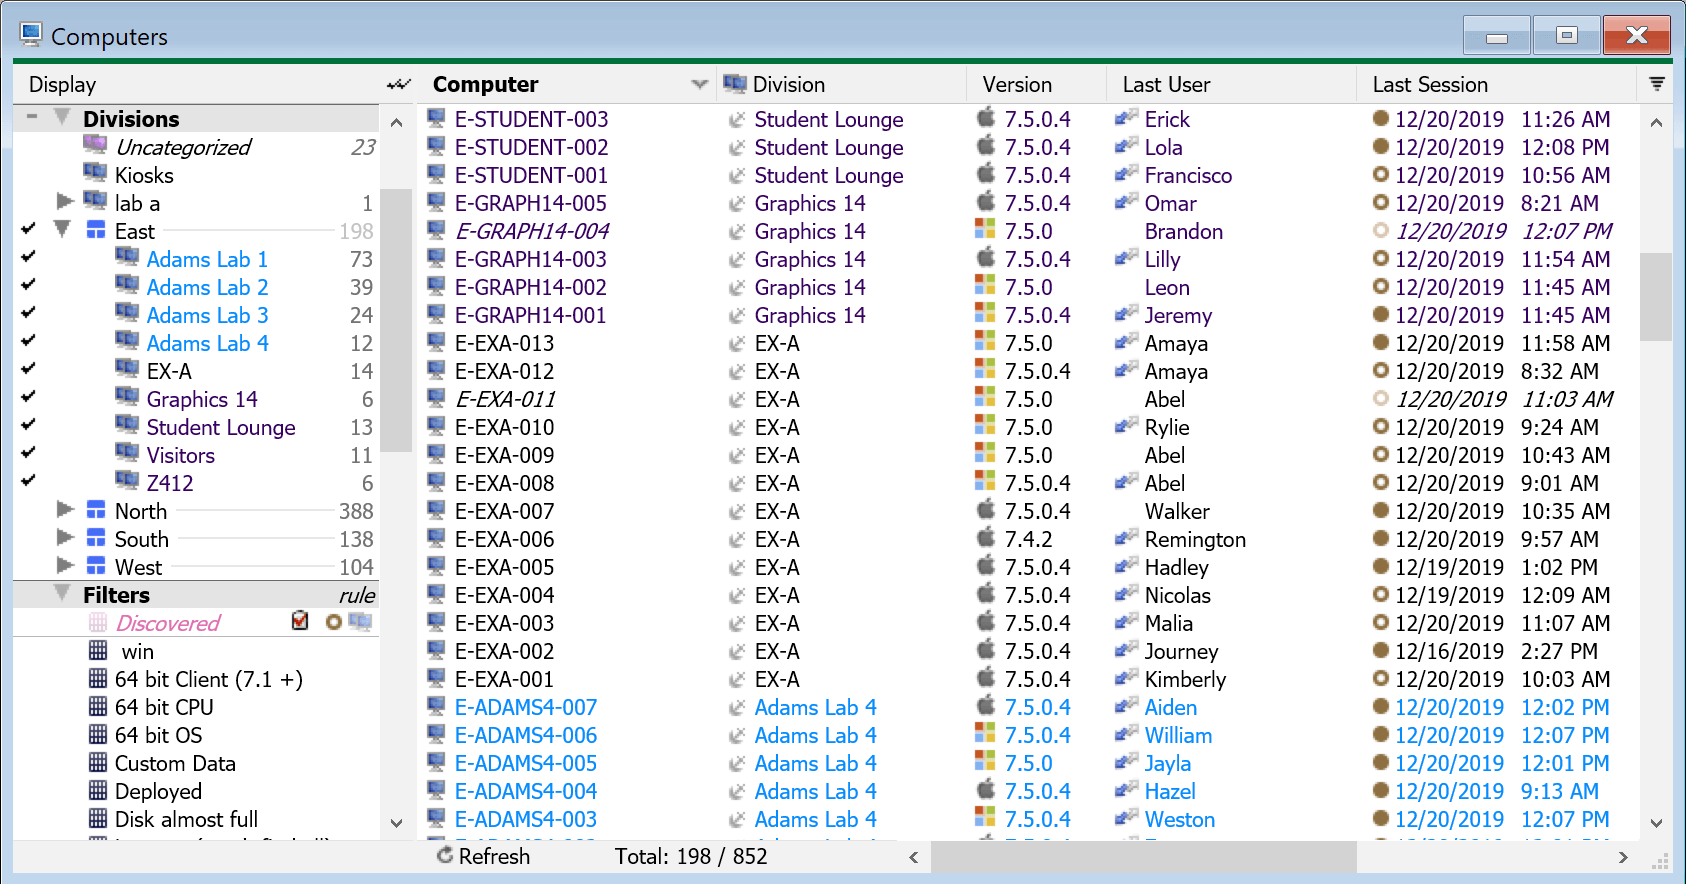
Divisions are to put it simply a folder of Computers. By default all computers join the KeyServer in the Uncategorized Division. You can right click in the Divisions pane of the Computers window to create a new division, and then drag computers as desired into that division. That division can then be leveraged in reports that are division based where the computers will be grouped by divisions, and used as a target for any division or computer based report to narrow results.
Filters can be used to see select computers based on a criteria and can also be used as report targets, but can not be used for allocating access as Divisions and Sections can. Note that a Filter can be turned into a Rule which can be used to put computers into Divisions based on given criteria. Tags can also be used to group computers and target them, but they are not dynamic like filters. Each of these three mechanisms has its use and purpose, but divisions are the starting point for most functions in the software when it comes to the grouping of computers.
You can use Client Authentication to automatically move computers into divisions based on their OU membership in AD. This can be very time saving and convenient to have that structure replicated in KeyServer. These allocations can be overridden by dragging a computer to another division which will anchor it there so it does not move again. Note this has no effect on where it is in AD. Any division that contains computers put there automatically (by client authentication or filters) will be pink in color, while any division that contains anchored computers (or none) will be blue.
Naming divisions is important. If you put a period in a division name it creates a "subfolder" view in the list in the computers window. Note this is just visual, and can be done any number of times to create visual branches. The name is full and unique, there is no actual subfolder structure when it comes to things like ACL access where a "child" would inherit from a "parent". Likewise, you can't delete a "parent" division because it doesn't really exist per se (although any computers in it would be removed). Each "child" is actually a distinct division in no way related to the others save by visually in the UI. If you drag a division to a new location in the UI, the name will be changed to reflect that location by replacing everything prior to the first period. If you drag a "parent" you're actually dragging that division of that name without anything further after the period(s) so it could appear to make a copy, but again you're moving a distinct division name. To see this more clearly, in Config -> General Settings -> Misc there is a Division Separator field. If you make that blank, you will see each division with its unique name rather than the tree view which can create the false impression of an actual folder structure.
Division Details
If you right click on a Division and choose Edit Division you'll get the Division Details window. Several aspects of the division can be edited here including the display name and display color.
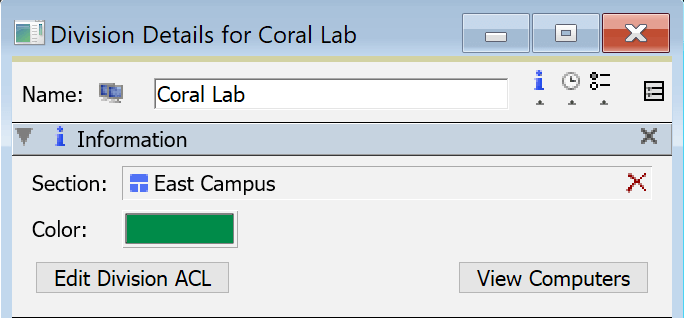
The Section field shows what Section if any the Division is in. You can change this assignment by dragging a Section from the Computers Window into this field.
Putting a Division into a Section is visual and managerial only. That is to say, you can put AD based Divisions in a Section and the mapping is not interrupted because you're not changing the division name. While the UI will show the division under that Section, this is purely visual just like the divisions names appearing to be sub folders.
Edit Division ACL is the same as right clicking a division and choosing that option to manage the ACL access.
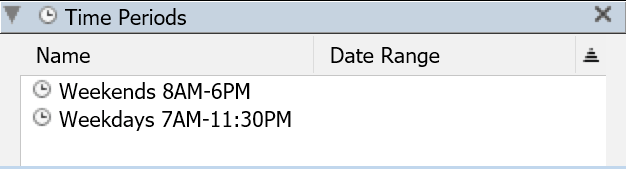
The Time Periods pane allows for easy management of the time periods in the Time Set for the division. This makes it easy to ensure the set name matches for setting the open and close display of hours on Availability Maps.
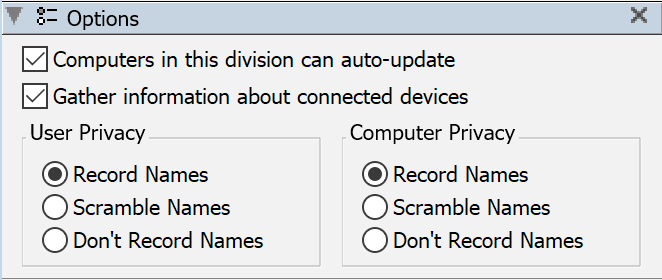
Several options can be configured on a per division basis.
The checkbox for allowing computers in the division to auto-update relates to our Self Update system. Note that this setting does not propagate to the auto update setting on each Computer record in the Division. However, both need to be enabled for auto update to apply, either one being disabled will block the update.
Gather information about connected Devices allows you to toggle off the creation of Device records for any detected items while still collecting traditional Audits for the computers.
The remaining Privacy options allows you to scramble computer or User names for just the computers in the division, as compared to the global General Setting.
Sections
While Sections are managed in the Computers window, they have impact on a variety of different objects such as Purchases, Policies, and Users. The critical starting point is determining which Divisions (and therefore Computers) are in each Section.
Sections can contain multiple Divisions. Sections should be created to align with management goals, since they help delegate management to different Administrators. Often Divisions are set up as distinct physical locations (i.e. rooms or buildings), but they do not have to be. Sections then could be departments under which the divisions exist.
To make Sections, right click in the Divisions pane of the Computers window and choose New Section. Once named, you'll see the section with its distinct blue grid icon compared to the dual monitor icon shown for Divisions. You can move Divisions into Sections by drag and drop but this will cause the Divisions to be renamed. Instead, open the Section Details and drag the Divisions into that instead to keep them and their mapping (e.g. AD) intact.
Section Details
If you double click a Section you'll open its details window. This will show the name, Divisions it contains, and any Accounts that have this section in their Default Section setting.
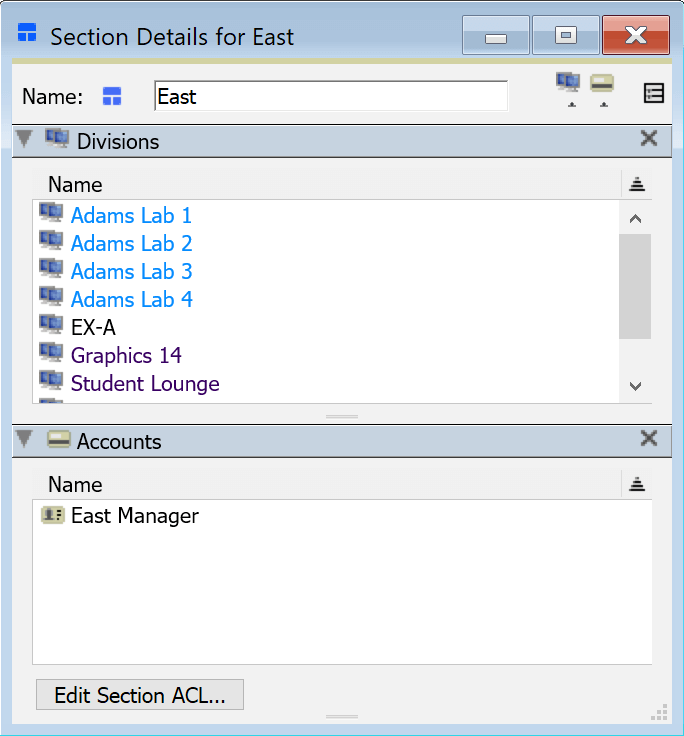
You'll also note the button to Edit Section ACL which will allow you to add additional Roles or Groups to the ACL for access rights. These ACLs will apply to all Divisions contained in the Section.
To move a Division intact to a Section, drag it into the Divisions pane of the Section Details window. If you drag the Division to the Section in the main Computers Window, the Division will get renamed, which also breaks any AD mapping or Rules. It is not necessary to assign every Division to a Section - some Divisions can remain outside of all Sections. This simply means that there is no Section Manager who can manage those computers - only the Enterprise level Administrators have control over computers in those Divisions, unless you specify a granular ACL on each Division.
Further Configuration
(A Tutorial)
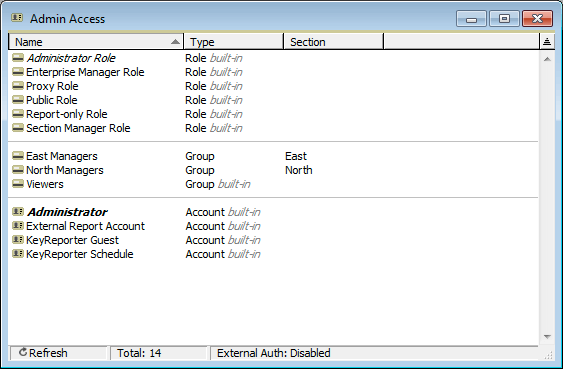
Having created Divisions and Sections, we are now ready to create Section managers. Switching to the Admin Access Window, we see various built-in Roles and Accounts. In the Groups list, there is a single built-in group named “Viewers”, but two additional Groups have been created, one for each Section. These groups will help to ensure appropriate Access Rights for Section level Administrators, but for now we don't need to manipulate them directly.
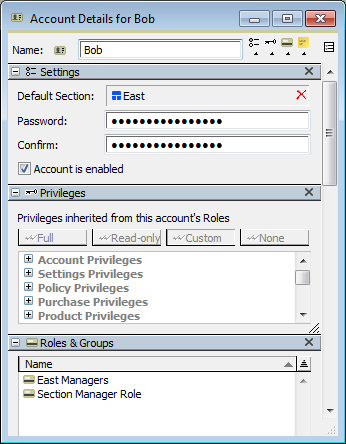
Right-click in the Admin Access window and select “New Account...”. As we have seen in other instances, this brings up a new Details window. Next, drag the “Section Manager Role” into the “Roles & Groups” pane of the Details window. This Role will grant privileges that are typical of a Section Manager - e.g. the ability to log into KeyConfigure, view and modify most objects such as Computers and Policies. The Section Manager Role does NOT have more powerful privileges such as the ability to Create new Roles or Accounts, and cannot make global changes such as configuring Authentication or Exporting.
Next, drag the “East” Section from the Computers window into the “Default Section” field in the Account Details. Now Save the window without closing it. Notice that after saving, the Roles & Groups list also shows the “East Managers” group, even though we did not explicitly drag it in. It has been added automatically since we assigned Bob to the East Section.
Now that we have created a Section Manager named Bob, log out as the main Administrator account, and log in as Bob instead. So far we have only done anything with Computers, so logged in as Bob, take a look at the Computers window.
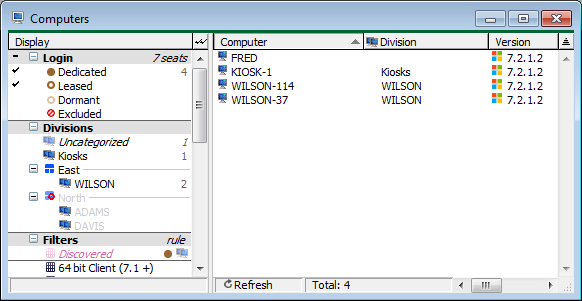
Right away, you will see that the entire North section is dimmed. We can see that it exists, and we can see the Division names, but we cannot see any computers within that division. On the other hand, we can still see computers in the Uncategorized division, as well as the Kiosks division. Both of these divisions have not been assigned to a Section. If we open some computer details though, we will notice that we can change computers in our own Section - for example adding notes or changing the Login type. But for computers outside of our Section, we have read-only access.
Next look at the Policies Window. First of all, as Bob, we can still see any Policies that were created by the Enterprise Administrator - but just as in the Computers window, we cannot modify these Policies. Having at least read-only access to Enterprise wide Policies is important, since these Policies will apply to the computers in our assigned section. So we should be able to see that these Policies are configured. Now right-click in the Policies window and select “New Policy...”. Step through the wizard and get to the Policy Details window.

Notice in the “Scope & Action” that our Section, East, has automatically been filled in. Furthermore, while we can edit the Policy name, Metric, etc, the Section is the one thing we cannot change. Because there is a Section, this Policy will only apply to that Section. The important thing is that as a Section specific Administrator, we can only make a Policy that will apply to our Section. We cannot (accidentally or otherwise) apply a Policy to parts of the Enterprise.
Summary
Sections have been designed to cover a common use-case in IT Asset Management - a concept often referred to as Federated Management. Essentially Federated Management just means that Administrators can be assigned to a specific sub-set of a broader enterprise, and are then responsible just for that sub-set. We call each sub-set a “Section”, and implement functionality to make this type of management easy. In our default configuration, Access Rights do not have to be explicitly specified unless you want something other than the following configuration:
- Enterprise level Administrator can view and modify all Computers, Policies, and Purchases
- Section managers can create new Policies, but these Policies will only apply to computers within the Section assigned to that manager
- Section managers can view and modify Computers for their Section, can view (but not modify) Enterprise computers that fall outside of any Section, and cannot view Computers for other Sections
- Section managers can view and modify Policies for their Section, can view (but not modify) Policies for the entire Enterprise, and cannot view Policies for other Sections
- Section managers can view and modify Purchases for their Section, cannot view Purchases for the entire Enterprise, and cannot view Purchases for other Sections
Note: If you upgraded from a pre-7.3 version of KeyServer you will probably need to change the configuration which has been carried over from the earlier version in order to make Permissions for Section admins work as described above. Contact Sassafras Software Supportfor help.
For an overview of how Access Rights and ACLs work, see the Administration and Management documentation.